3D Model Information
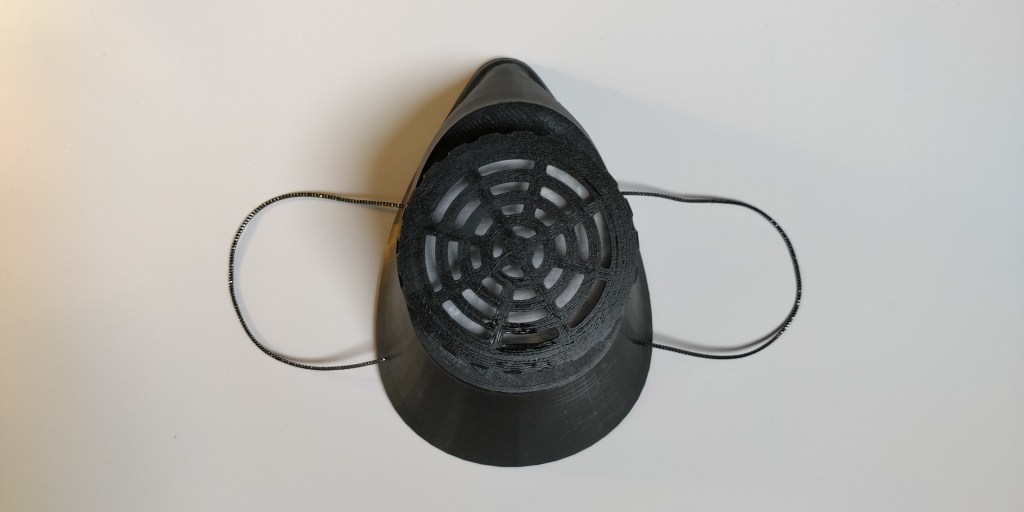
This is a 3D design for a reusable protection mask. Please feel free to download the file attachment, while following the settings outlined.
3D Printing Settings
Designed to be printed with 0.4-0.6mm nozzles and 0.2-0.3mm layer height. Five printed components form the respirator: Mask, Filter Base, Filter Cap, Filter Grid, and Spacer Ring.
For connecting the filter base and cap, the mask must be manufactured using the “spiral vase” option of the slicing application with eight foundation layers. The spiral vase option enables the mask to be printed rapidly and without compromising the mask’s seal during use. In addition, the spiral vase printing process provides lightweight flexibility and comfort. On every type of 3D printer, the Filter Base, Filter Cap, Filter Grid, and Spacer ring may be produced with the finest microscopic components.
The Mask is designed to be constructed without additional adhesives. To collect Place Filter materials in the filter’s base and secure them with the Filter Grid. Insert the Filter Base with Materials into the circular slot with the threads facing outward. Place the Spacer Ring over the threads, and then tighten the Filter Cap. Avoid excessively tightening the filter cover. Multiple points of contact are included into the design to provide an airtight seal without losing durability. To change a filter, put the thumb on the filter base within the mask and carefully remove the filter cap. On each edge of the mask, two 2mm holes should be bored roughly 40mm apart and in the middle of the distance between the bridge of the nose and the chin. The mask may then be attached to the user’s face by connecting ear rings made from rubber bands to these holes.
Gently apply heat around the nose to obtain a more customised fit. Currently, the mask is ready for use, but a better seal may be created using self-adhesive foam window weather stripping. This material is inexpensive and frequently available at retail stores.
Where possible please use high quality medical grade filters to ensure the greatest level of protection. To replace a filter, Place the thumb on the filter base within the mask and unscrew the Filter cap carefully. When it comes to typical PPE, it is vital to note that they are virtually always disposable. Therefore, for this design to provide any type of protection, it must be dismantled, meticulously cleaned, and Sterilized after each usage.
Summary
- Print the mask using the “spiral vase” setting. It is known as “Spiralize Outer Contour” in Cura’s Modes section of the settings panel.
- Be certain to use “spiral vase” while printing the mask. In Cura, this option is labelled “Spiralize Outer Contour” in the Modes section of the options panel.
- Replace the filter material after each usage.
- After each use, dismantle and clean/sterilize completely.
“Do your little bit of good where you are; it’s those little bits of good put together that overwhelm the world.”
― Desmond Tutu
